

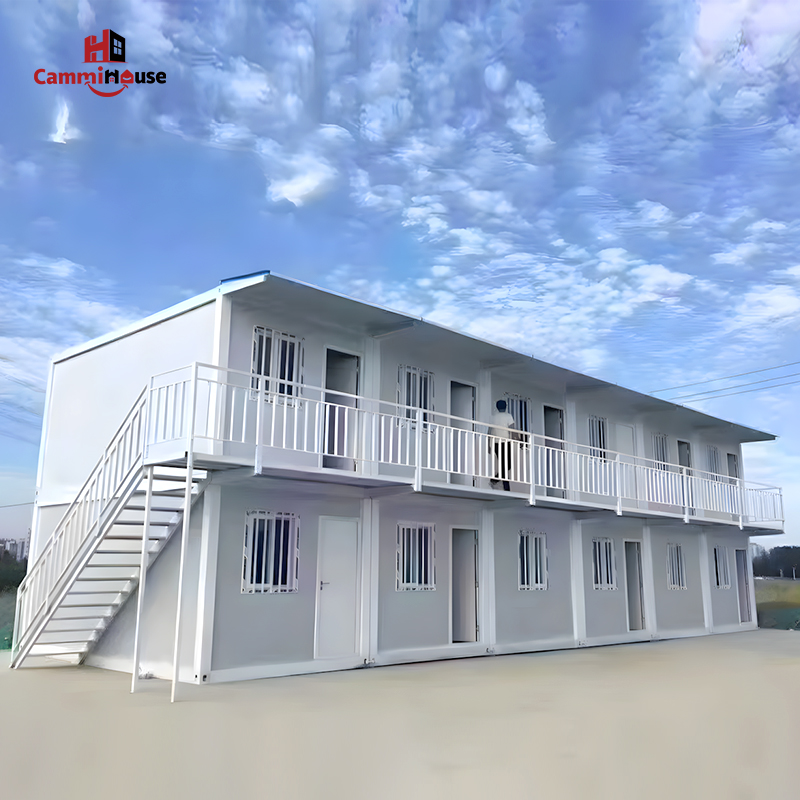
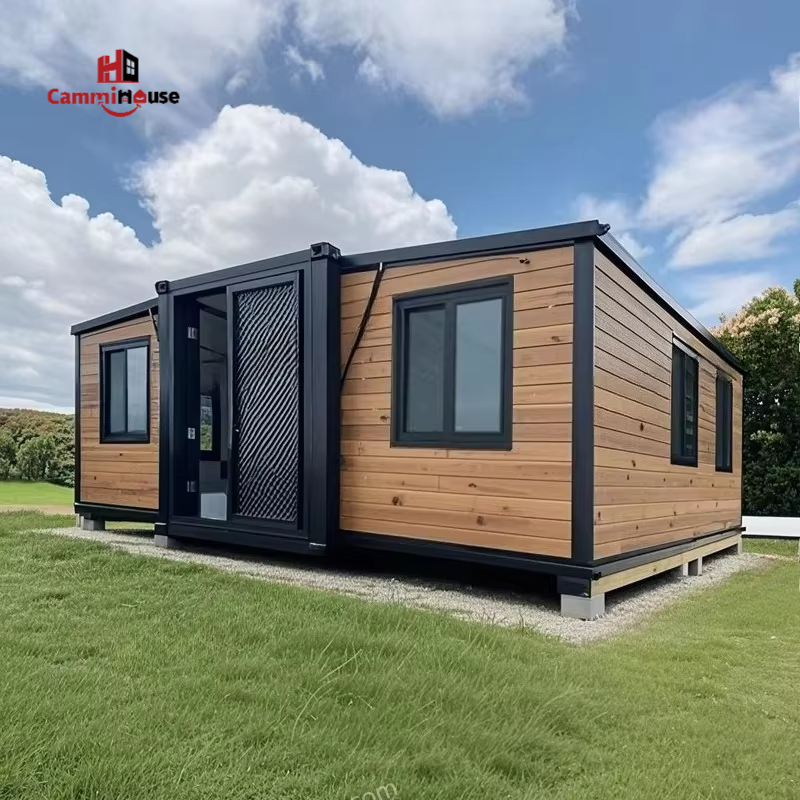
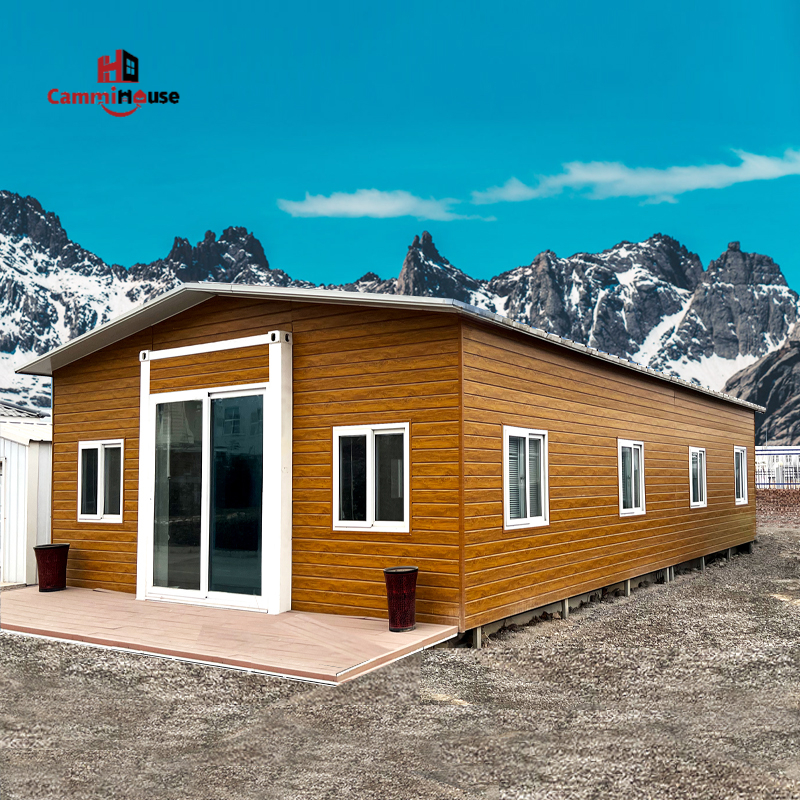
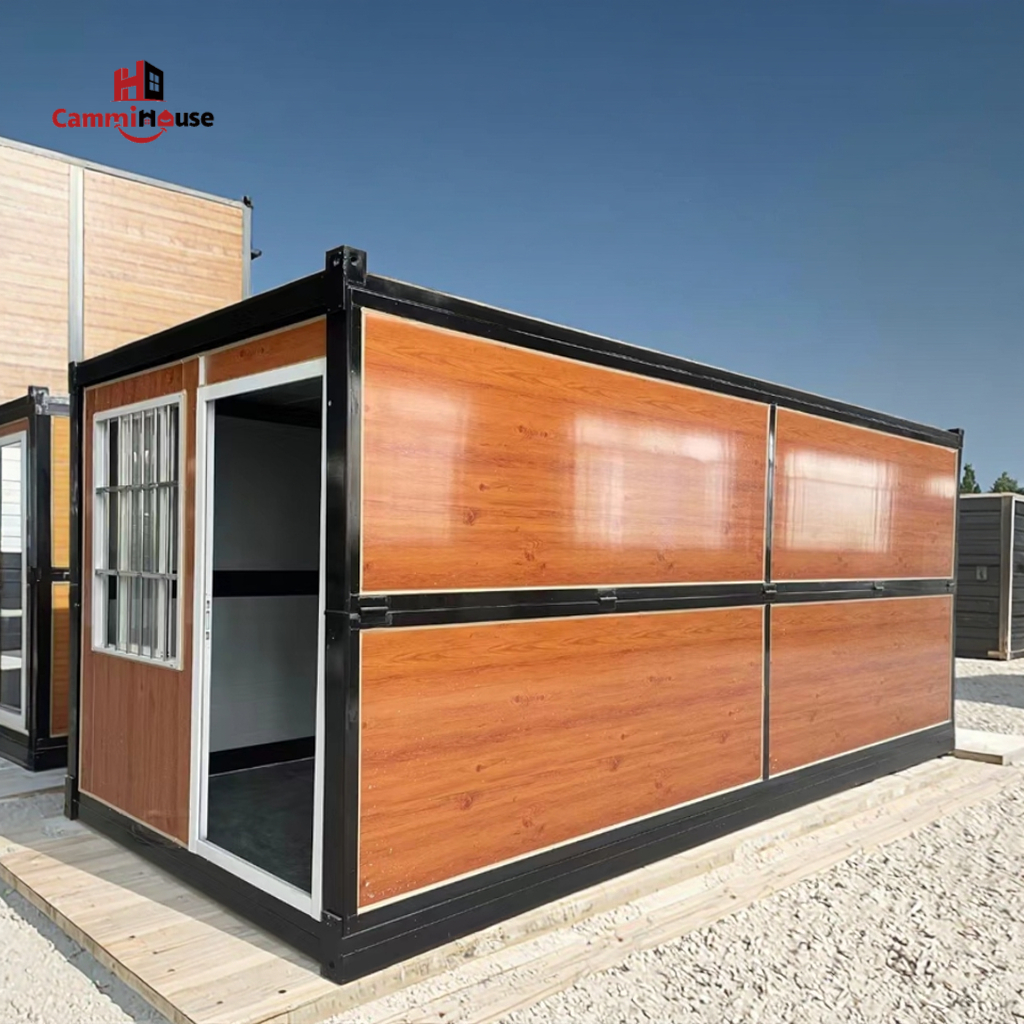
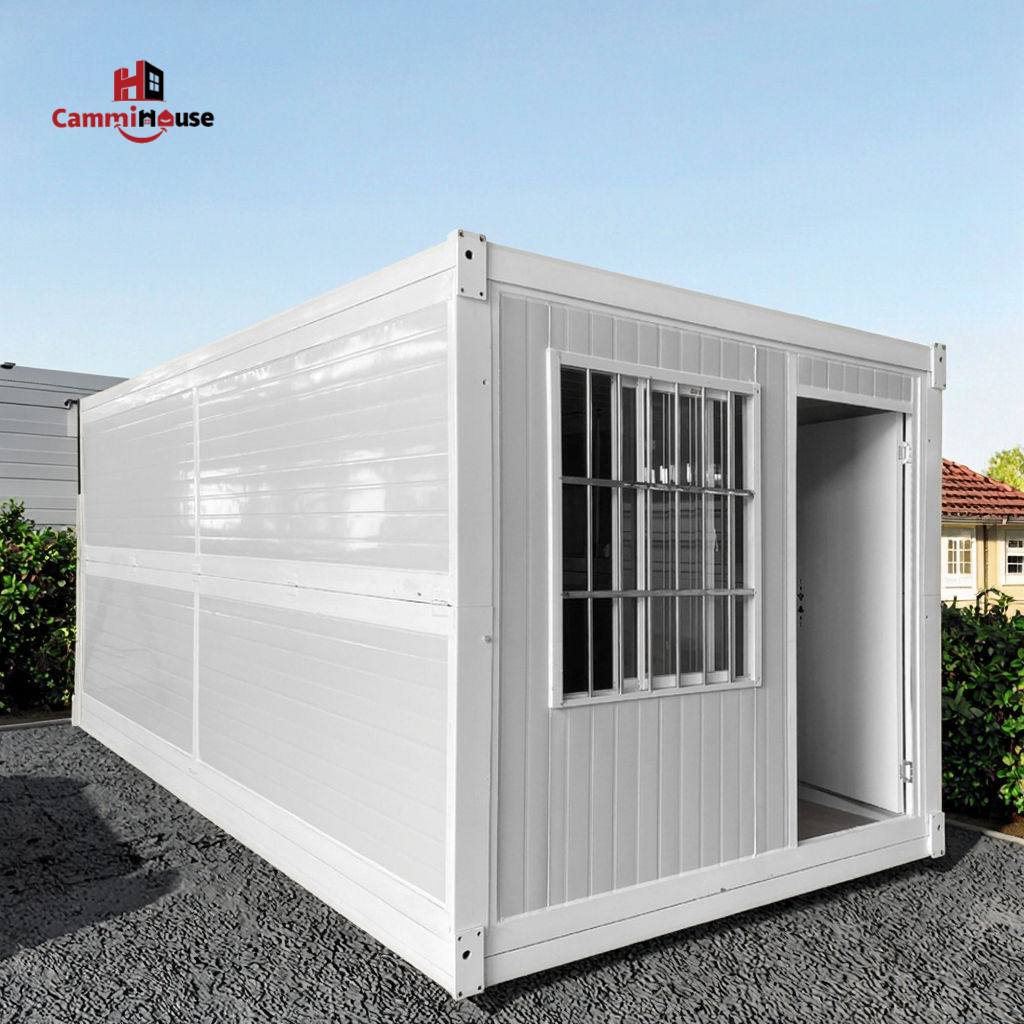
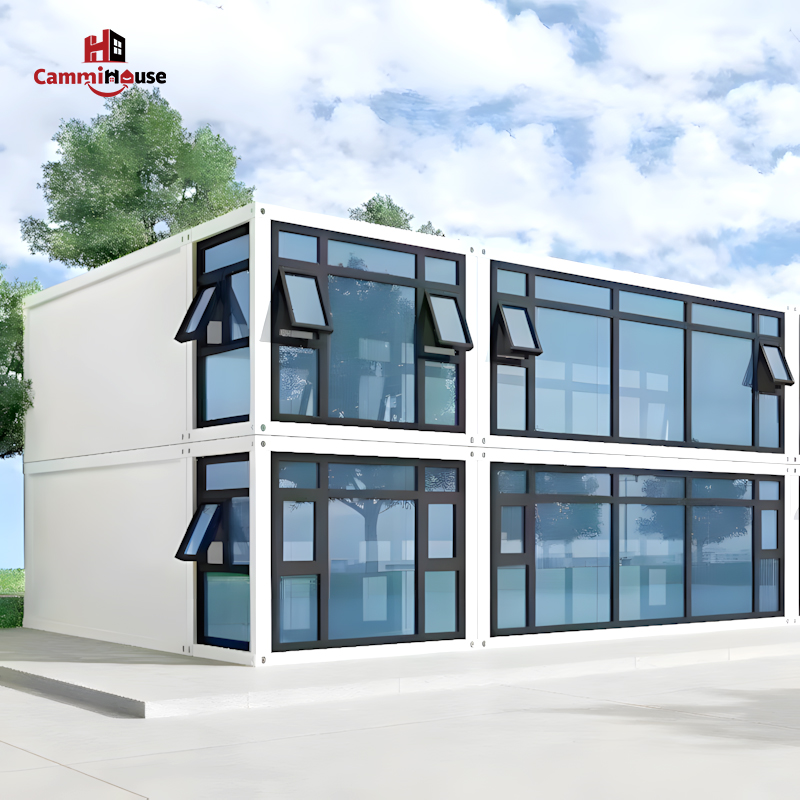
A detachable container house can be fully assembled by a small crew in two to three days. Unlike a traditional prefab modular home, a flat pack container house ships in panels that bolt together on-site — no welding, no crane, no foundation pour required. This guide walks you through every stage of the process, from organizing floor beams to sealing the final roof screw, using the same 10-step method that Cammihouse supplies to customers worldwide.
1. What Is a Detachable Container House?
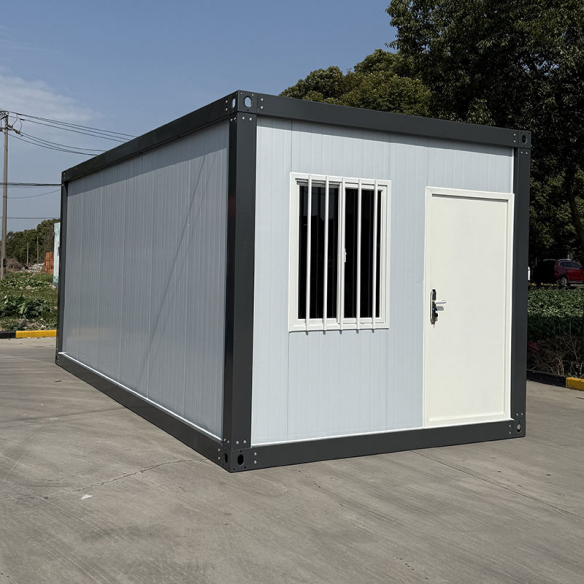
A detachable container house — also called a flat pack container home or knockdown container unit — is a steel-framed modular structure that can be shipped flat, assembled on-site, and disassembled again if needed. The entire building arrives as numbered panels: floor beams, purlins, wall sandwich panels, roof tiles, doors, and windows. According to a 2023 market report by Grand View Research, the global modular construction market is projected to grow at 6.9% CAGR through 2030, driven largely by portable and reusable housing demand in mining, disaster relief, and temporary office sectors.
Why Choose a Flat Pack Container House?
Transportability is the main advantage: a standard 20-foot equivalent unit (TEU) container can hold the components for a 20 m² living space. Installation cost is typically 30–50% lower than traditional construction (source: McKinsey Global Institute, 2020). Cammihouse units use EPS or rock wool sandwich panels with a 50 mm core, delivering a U-value of 0.5 W/m²K — sufficient for most temperate climates without additional insulation upgrades.
2. Tools and Site Preparation
Prepare the site and gather tools before opening any crates. A level, compacted base — whether concrete slab, gravel pad, or adjustable steel footings — is the single most important factor in a clean, leak-free assembly. A sloped or uneven base causes door frames to rack and roof panels to gap.
Minimum Tool List
You will need: an electric screwdriver (torque 40–60 Nm), a rubber mallet, a laser level or spirit level, a steel tape measure, and a set of flat-head screws (M6 × 50 mm, supplied in the kit). A two-person crew handles all steps without heavy machinery.
3. Step-by-Step Installation Guide
Follow the 10 steps below in sequence. Skipping or reversing steps — especially in the floor and column phase — creates alignment errors that compound at every later stage.
Phase 1 — Floor Structure (Steps 1–5)
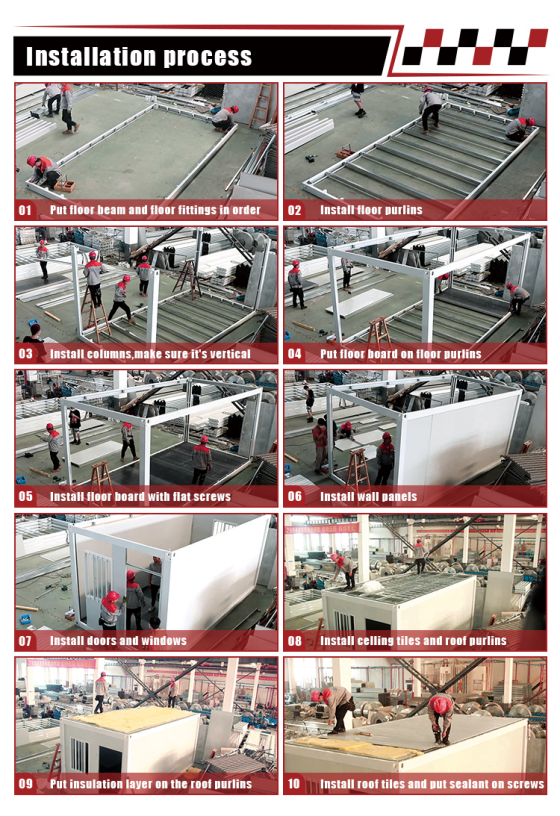
1. Put floor beams and floor fittings in order. Lay all steel floor beams flat according to the floor plan drawing. Verify part numbers match the packing list before assembly begins. This prevents rework.
2. Install floor purlins. Bolt the secondary steel purlins across the main beams at 400 mm spacing. Purlins provide the support grid for the floorboard panels. Hand-tighten first, then torque to spec once all are in place.
3. Install columns and verify vertical alignment. Slot each steel column into the corner and mid-span brackets. Use a spirit level on two adjacent faces before tightening. Columns that are 2° off plumb will cause wall panels to bind.
4. Place floor boards onto floor purlins. Lay each composite or OSB floor board panel flat onto the purlin grid. No adhesive is needed at this stage — panels rest in position by gravity and edge overlap.
5. Fasten floor boards with flat-head screws. Drive M6 flat screws through the pre-drilled holes in each board. Flush seating is essential — proud screw heads create trip hazards and prevent the wall panel base track from sitting level.
Phase 2 — Walls, Doors, and Windows (Steps 6–7)
6. Install wall panels. Slide each sandwich panel into the column tracks from the top. Panels lock together with concealed male/female tongue-and-groove edges. No external fasteners are visible from the outside, giving a clean facade. A 20 m² Cammihouse unit uses 12 standard wall panels.
7. Install doors and windows. Fit each door frame into the pre-cut panel opening, check for square with a tape measure diagonal test (both diagonals equal = square), then screw into the surrounding panel. Repeat for window frames. Sealing strips are applied at this step.
Phase 3 — Roof and Weatherproofing (Steps 8–10)
8. Install ceiling tiles and roof purlins. Fix the interior ceiling tiles to the top of the wall panels from inside. Then mount the roof purlins on top of the column heads — these are the support rails for the roof sheets.
9. Lay the roof insulation layer. Roll out the insulation blanket (rock wool or glass wool) across the roof purlins before placing roof tiles. This step is often skipped in budget builds and is the leading cause of condensation complaints. Cammihouse includes 50 mm rock wool insulation as a standard component.
10. Install roof tiles and apply sealant to screws. Fix corrugated steel or polycarbonate roof sheets to the purlins with self-tapping roofing screws. Apply butyl rubber sealant under each washer before driving the screw. Unsealed roof screws are the most common source of water ingress in container homes.
4. How Long Does the Full Assembly Take?
A standard 20 m² Cammihouse single-unit takes a two-person crew approximately 16–20 working hours (two days). A four-unit camp complex — 80 m² total — takes a four-person crew three to four days including electrical rough-in. These figures assume a flat, pre-prepared base and no on-site modification to panels.
Real Project Example
A mining contractor in Western Australia ordered eight Cammihouse units for a remote camp in 2023. Two local workers assembled all eight units in five days using only the supplied tool kit and the step-by-step manual. The client reported zero panel gaps and no roof leaks after the first wet season — an outcome they attributed to following the sealant step on every roof screw.
5. Common Installation Mistakes to Avoid
Most defects in assembled container houses trace back to three errors, all preventable:
1. Skipping the vertical check on columns (Step 3). Off-plumb columns cause every subsequent panel to be misaligned. Always level before tightening.
2. Omitting roof insulation (Step 9). Condensation on the underside of steel roof sheets drips onto ceiling tiles within the first cold night. Include the insulation layer every time.
3. Not applying sealant under roofing screws (Step 10). A USD 2 tube of butyl sealant prevents a USD 500 roof-replacement job six months later.
Frequently Asked Questions
Q1: Do I need a building permit to install a detachable container house?
Permit requirements vary by country and intended use. In most jurisdictions, a detachable or temporary container house used for less than 12 months does not require a full building permit — only a site notification. For permanent residential use, local planning approval is typically needed. Always check with your local authority before installation. Cammihouse provides a technical drawing package that satisfies most permit applications.
Q2: Can a detachable flat pack container house be expanded after assembly?
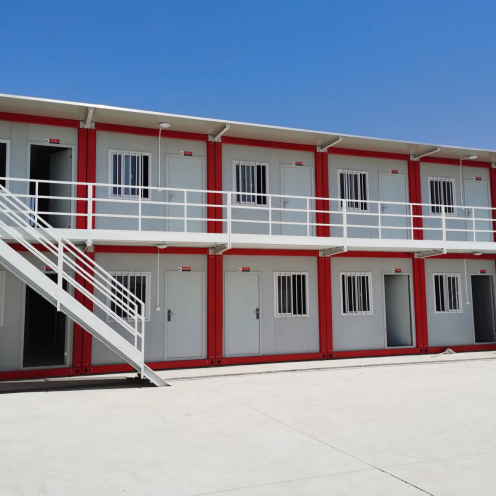
Yes. Cammihouse units are designed with a modular connection system. Additional units can be joined side-by-side or stacked two stories high using standard steel connectors. A single unit can expand into a two-room or four-room layout without disassembling the original structure. The column and purlin system accommodates expansion openings at the wall panel joints.
Q3: How do I maintain a detachable container house long-term?
Annual maintenance takes about two hours. Inspect all roof screw sealants and re-apply where cracking is visible. Check column base brackets for surface rust and treat with zinc-based primer. Clean the wall panel joints with soapy water to prevent mold in humid climates. Interior sandwich panels wipe clean with a damp cloth. No structural maintenance is required under normal use for the first 15 years (manufacturer data, Cammihouse 2024 product specification).
Ready to start your project? Cammihouse offers flat pack container houses for residential, commercial, and camp use — shipped worldwide with full installation documentation and a dedicated after-sales team.